Project Setup
- Start by navigating to your CoLoop home space. In the top-right corner, click the “Create” button.
- Provide a descriptive project name (e.g., “First Time Voters Interviews”). Choose a name that reflects the topic, wave, or type of data so it’s easily recognizable.
- Add project tags (optional but recommended). These are labels that will help you filter and search for the project later.
- Choose a data storage region: US, UK, or Europe. All are hosted on encrypted AWS servers and are equally secure. Select Europe to be GDPR-compliant. Choose the region that best fits your privacy needs. If your organization admin has enforced a storage region, this is pre-selected and cannot be changed.
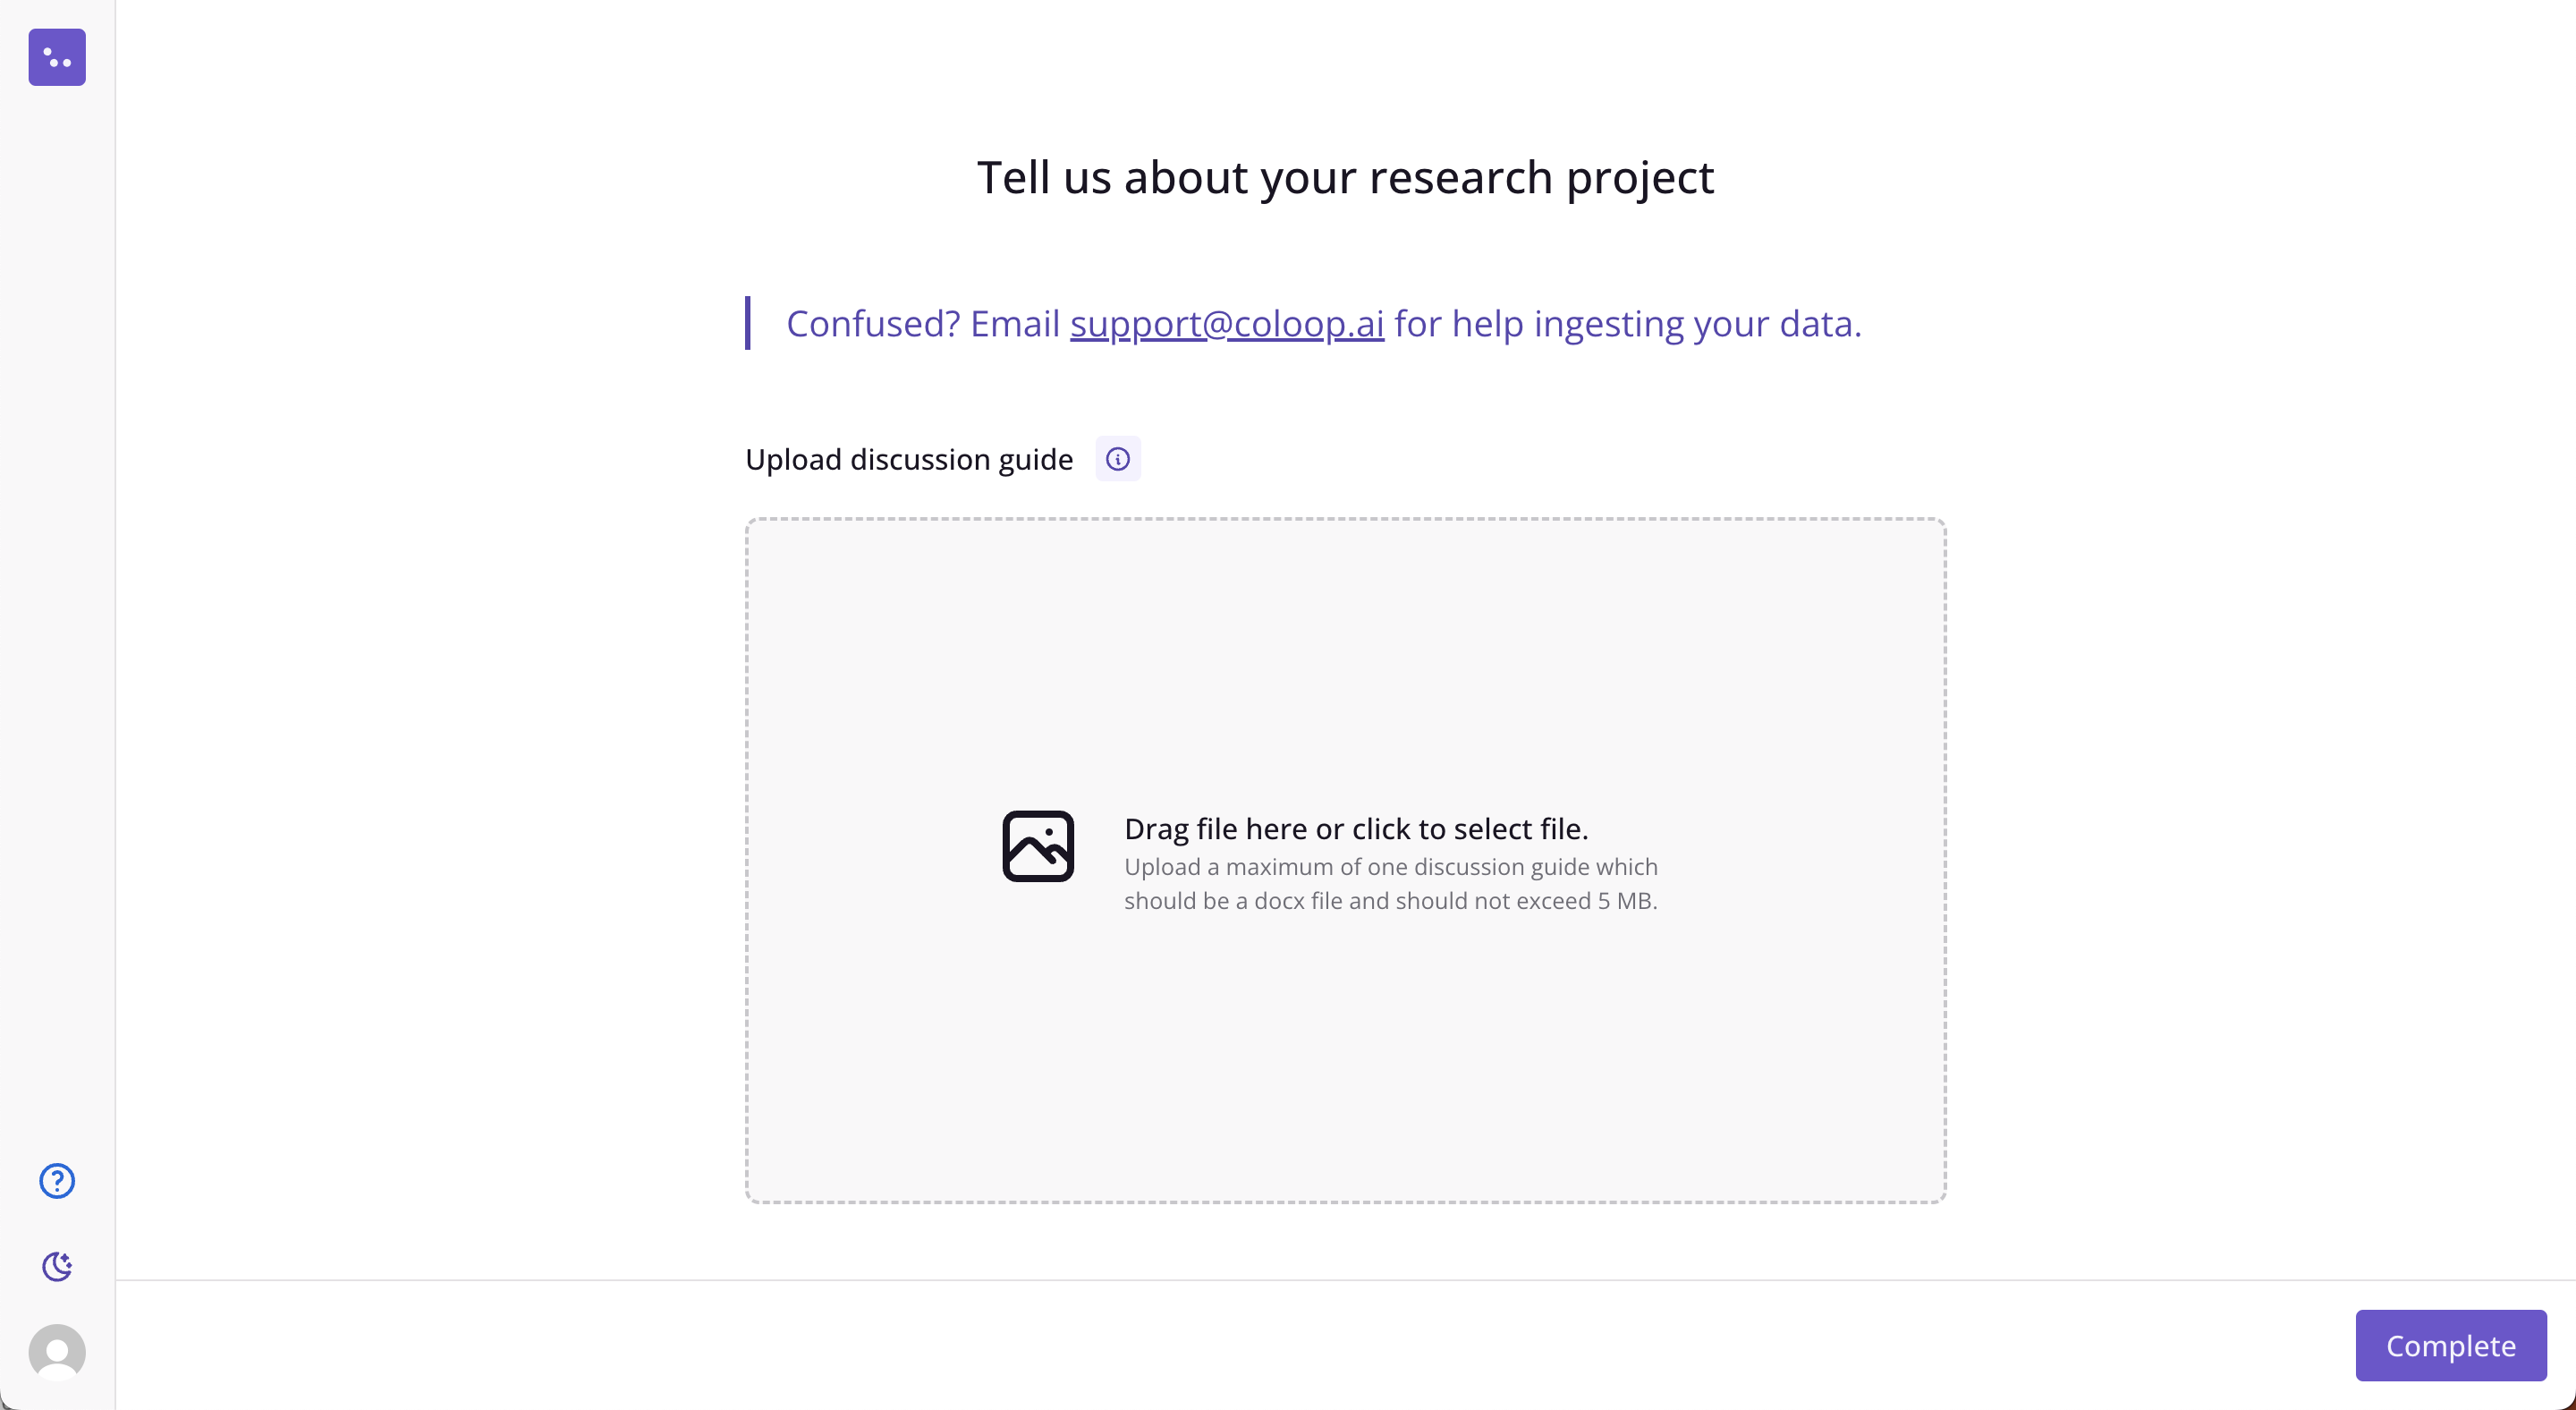
Upload Your Discussion Guide
The Discussion Guide should be in DOCX format and contain examples of the types of questions and discussion points your research focused on. This can also be used to automatically generate a project description (step 4).
If you are not ready to add a discussion guide or project details, click Skip project setup for now to proceed to uploading or recording research material directly. You can return to project setup later.
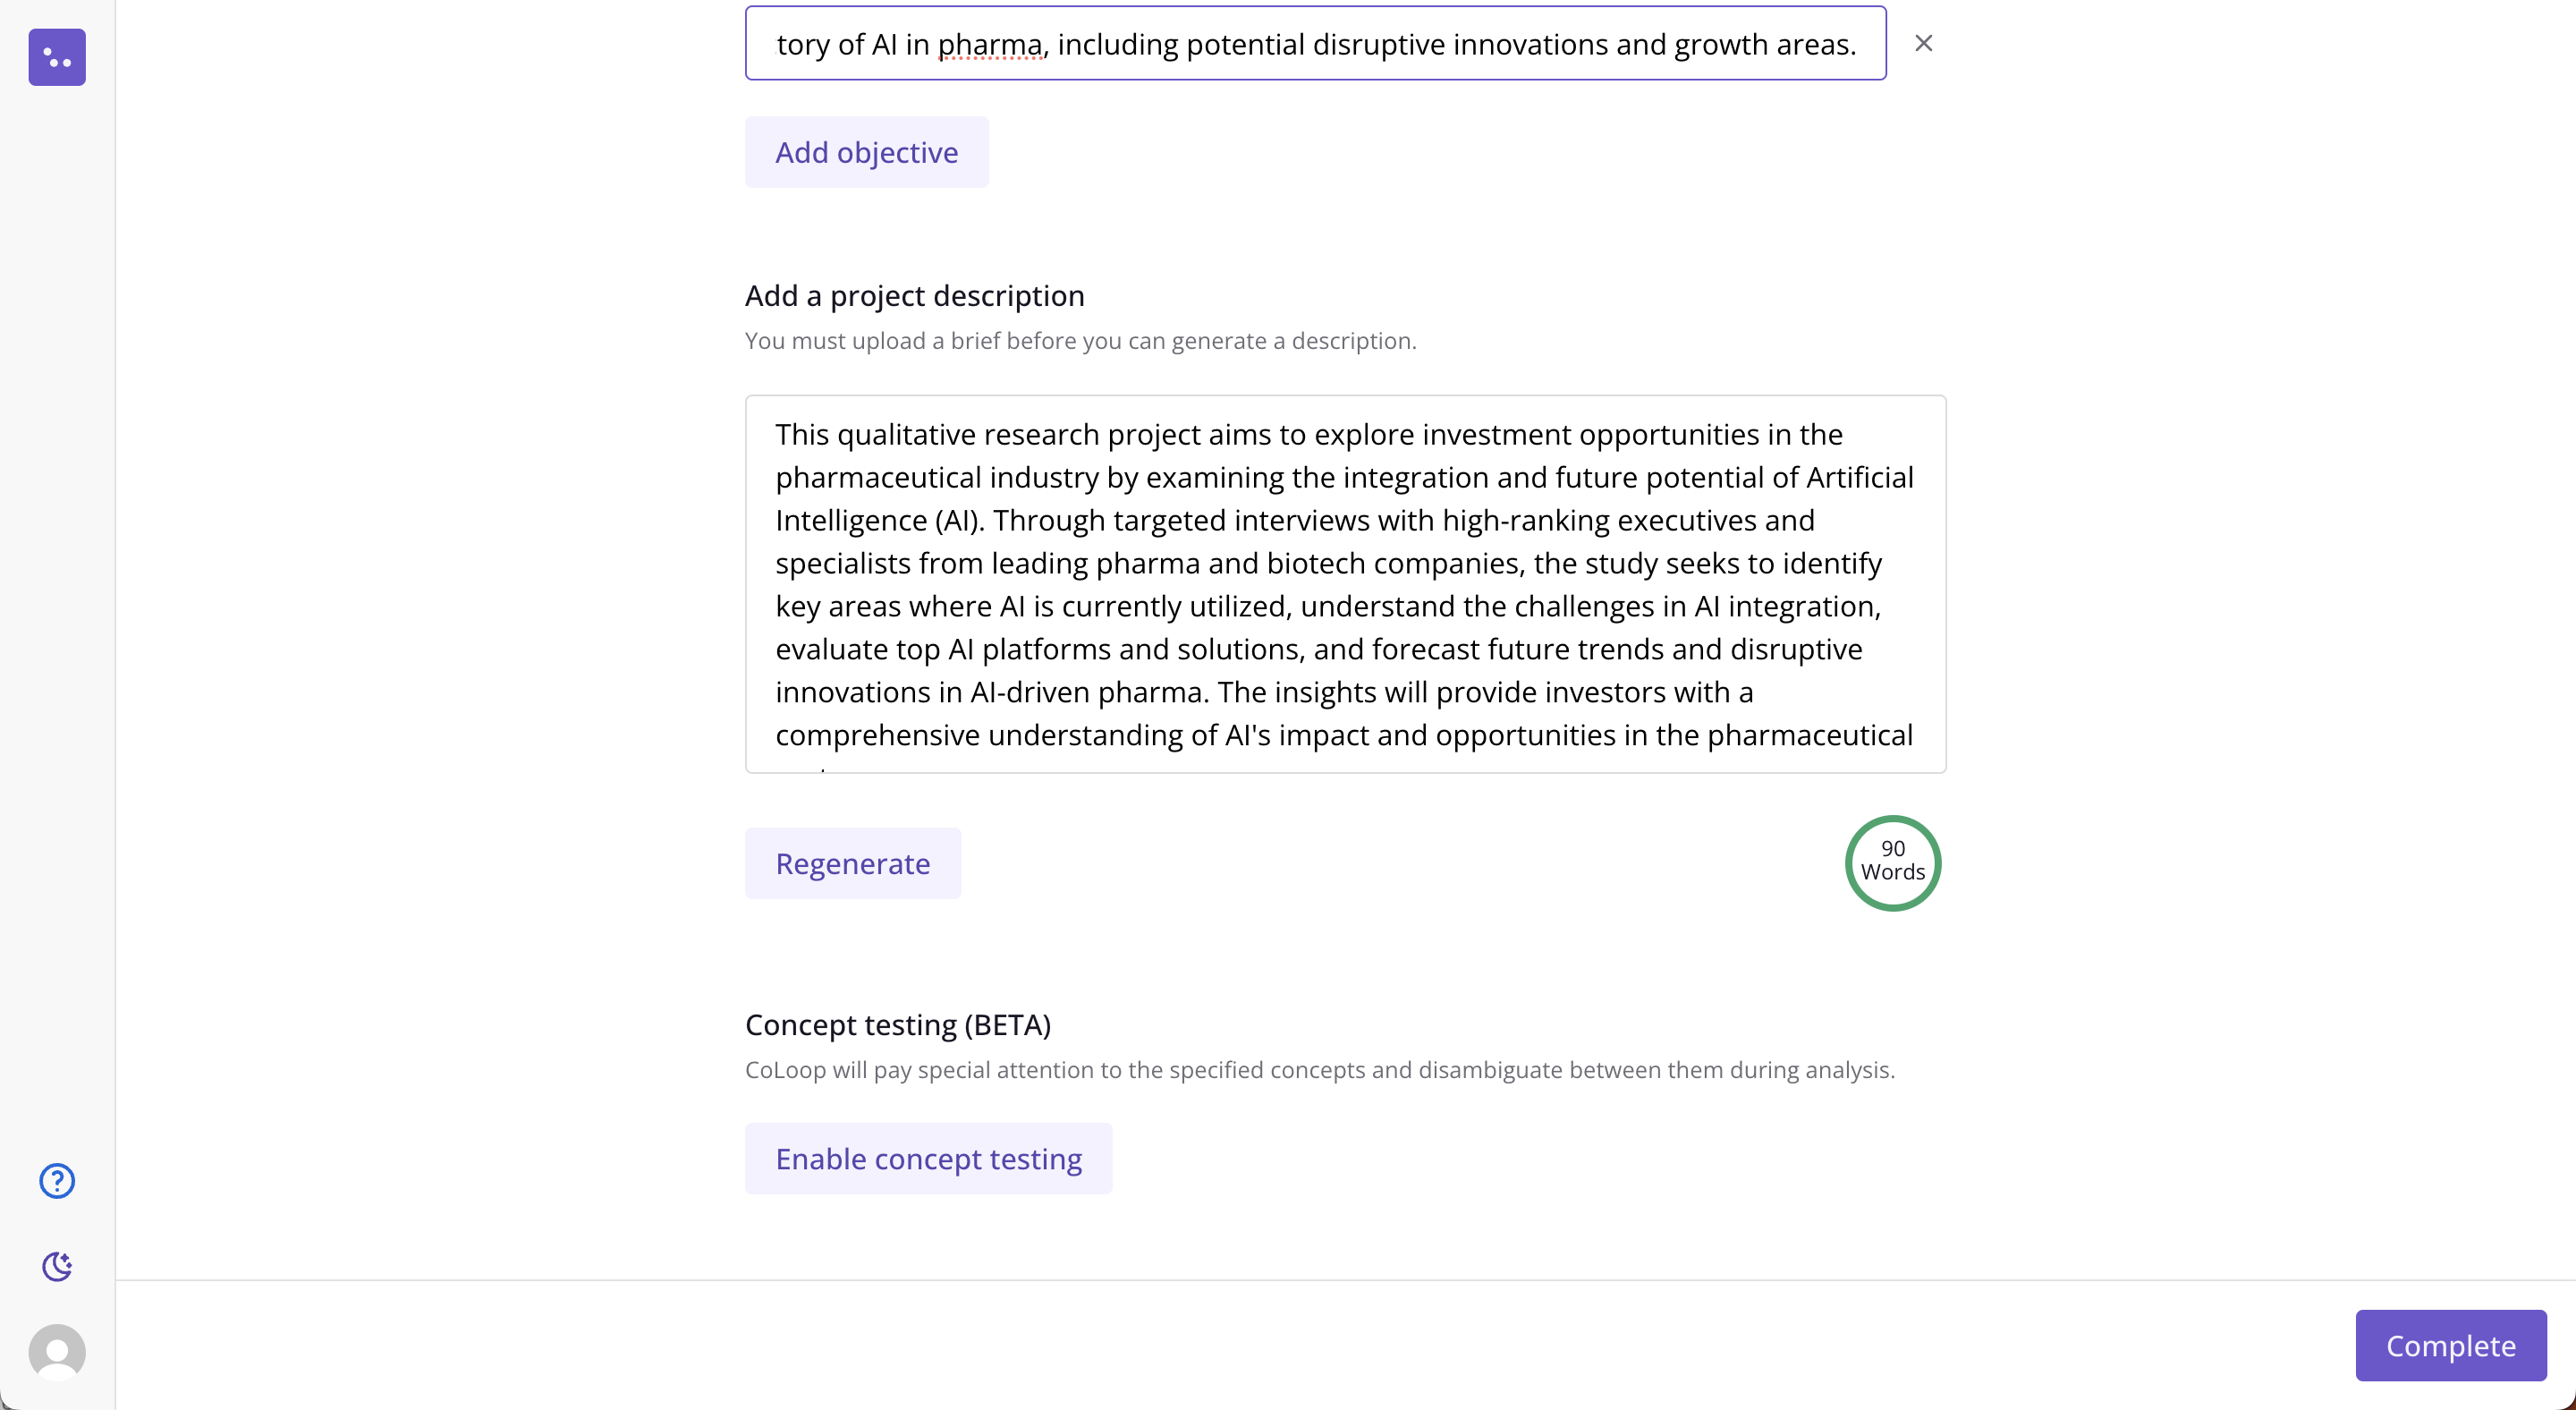
Enter any additional objectives
These should be the main objectives of your research project. These will be used to generate the project description in (step 4).
 You can generate this if you’ve uploaded a discussion guide and provided some objectives or simply write it yourself. This description will serve as the AI’s ‘long term memory’. It will be used as context when answering any questions.
What does this do?
- These steps are used to provide context that will be used to improve downstream performance
- They also help to improve transcription with brand names and provide suggested questions in the analysis grid
- We strongly recommend providing a description of your project and any other requirements you have in the project description.
- This can drastically improve performance when answering questions or summarizing themes.
Uploading research material
Transcription (Audio and video)
You can download transcripts by clicking Open then the 3 dots menu to the right of the title.
Complete and providing the following optional information below.
1. Number of speakers
- Enter the expected number of speakers in the audio or video
- This includes anyone present in the audio e.g. support staff, soundtracks from stimulus material etc.
2. Speaker accent
- We currently offer UK, US, and AU English.
- Choose English with no parentheses to account for global accents, or if your participants are none of the above.
3. Keywords
- Enter any brand names or keywords that appear in your discussion guide - CoLoop is trained on dictionary models so this will tell the tool to look out for atypical and non-dictionary terms.
- The list does not have to be exhaustive - even providing a few can cause dramatic improvements. The list is saved throughout the project.
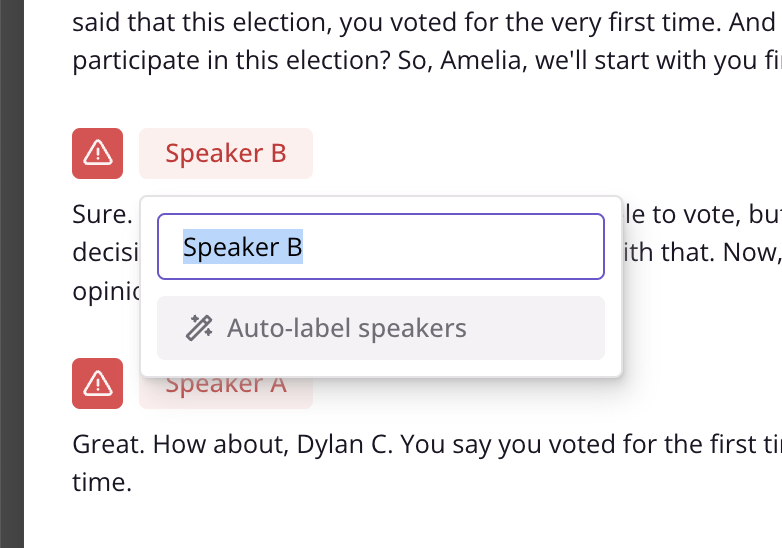
Labeling speakers
Labeling speakers with the same name will merge them together.
Complete task button. This will open the transcript and prompt you to enter a name for each speaker.
CoLoop can also automatically assign names and roles to your speakers based on the context. All you need to do is click on the Auto-label speakers option.
Assigning roles to speakers
CoLoop needs to know whether somebody is a researcher or a participant. This is so that the AI uses comments made by participants as supporting evidence, and researchers as context.
CoLoop can assign these automatically, but it may leave out some that are unclear, in which case you can edit them afterward. Change the role by clicking on the icon next to the speakers name in the transcript. If you aren’t sure or it isn’t clear choose participant.
If you need to edit the speaker names, check out our guides on speaker labeling here.
Next Steps
Once you’ve set up a project, you’re ready to jump into the analysis grid or chat!